Tools
Software
- Hex Editor. Here I used HxD
- NeoProgrammer
- 7-Zip
- DSM version 6.2.4-25556 from Synology Archive (File name is DSM_DS218+_25556.pat)
- Unix liked systems such as MacOS, and Linux distributions (Ubuntu, CentOS and more). Here I used Ubuntu 22.04 LTS
- WinMerge
Hardware
- CH341A
- Phillips screwdriver
Before you start
It is better to back up your original bios.ROM first, you can use NeoProgrammer to back up your original bios.ROM. After backup, you can use it as a reference to create your new bios.ROM.
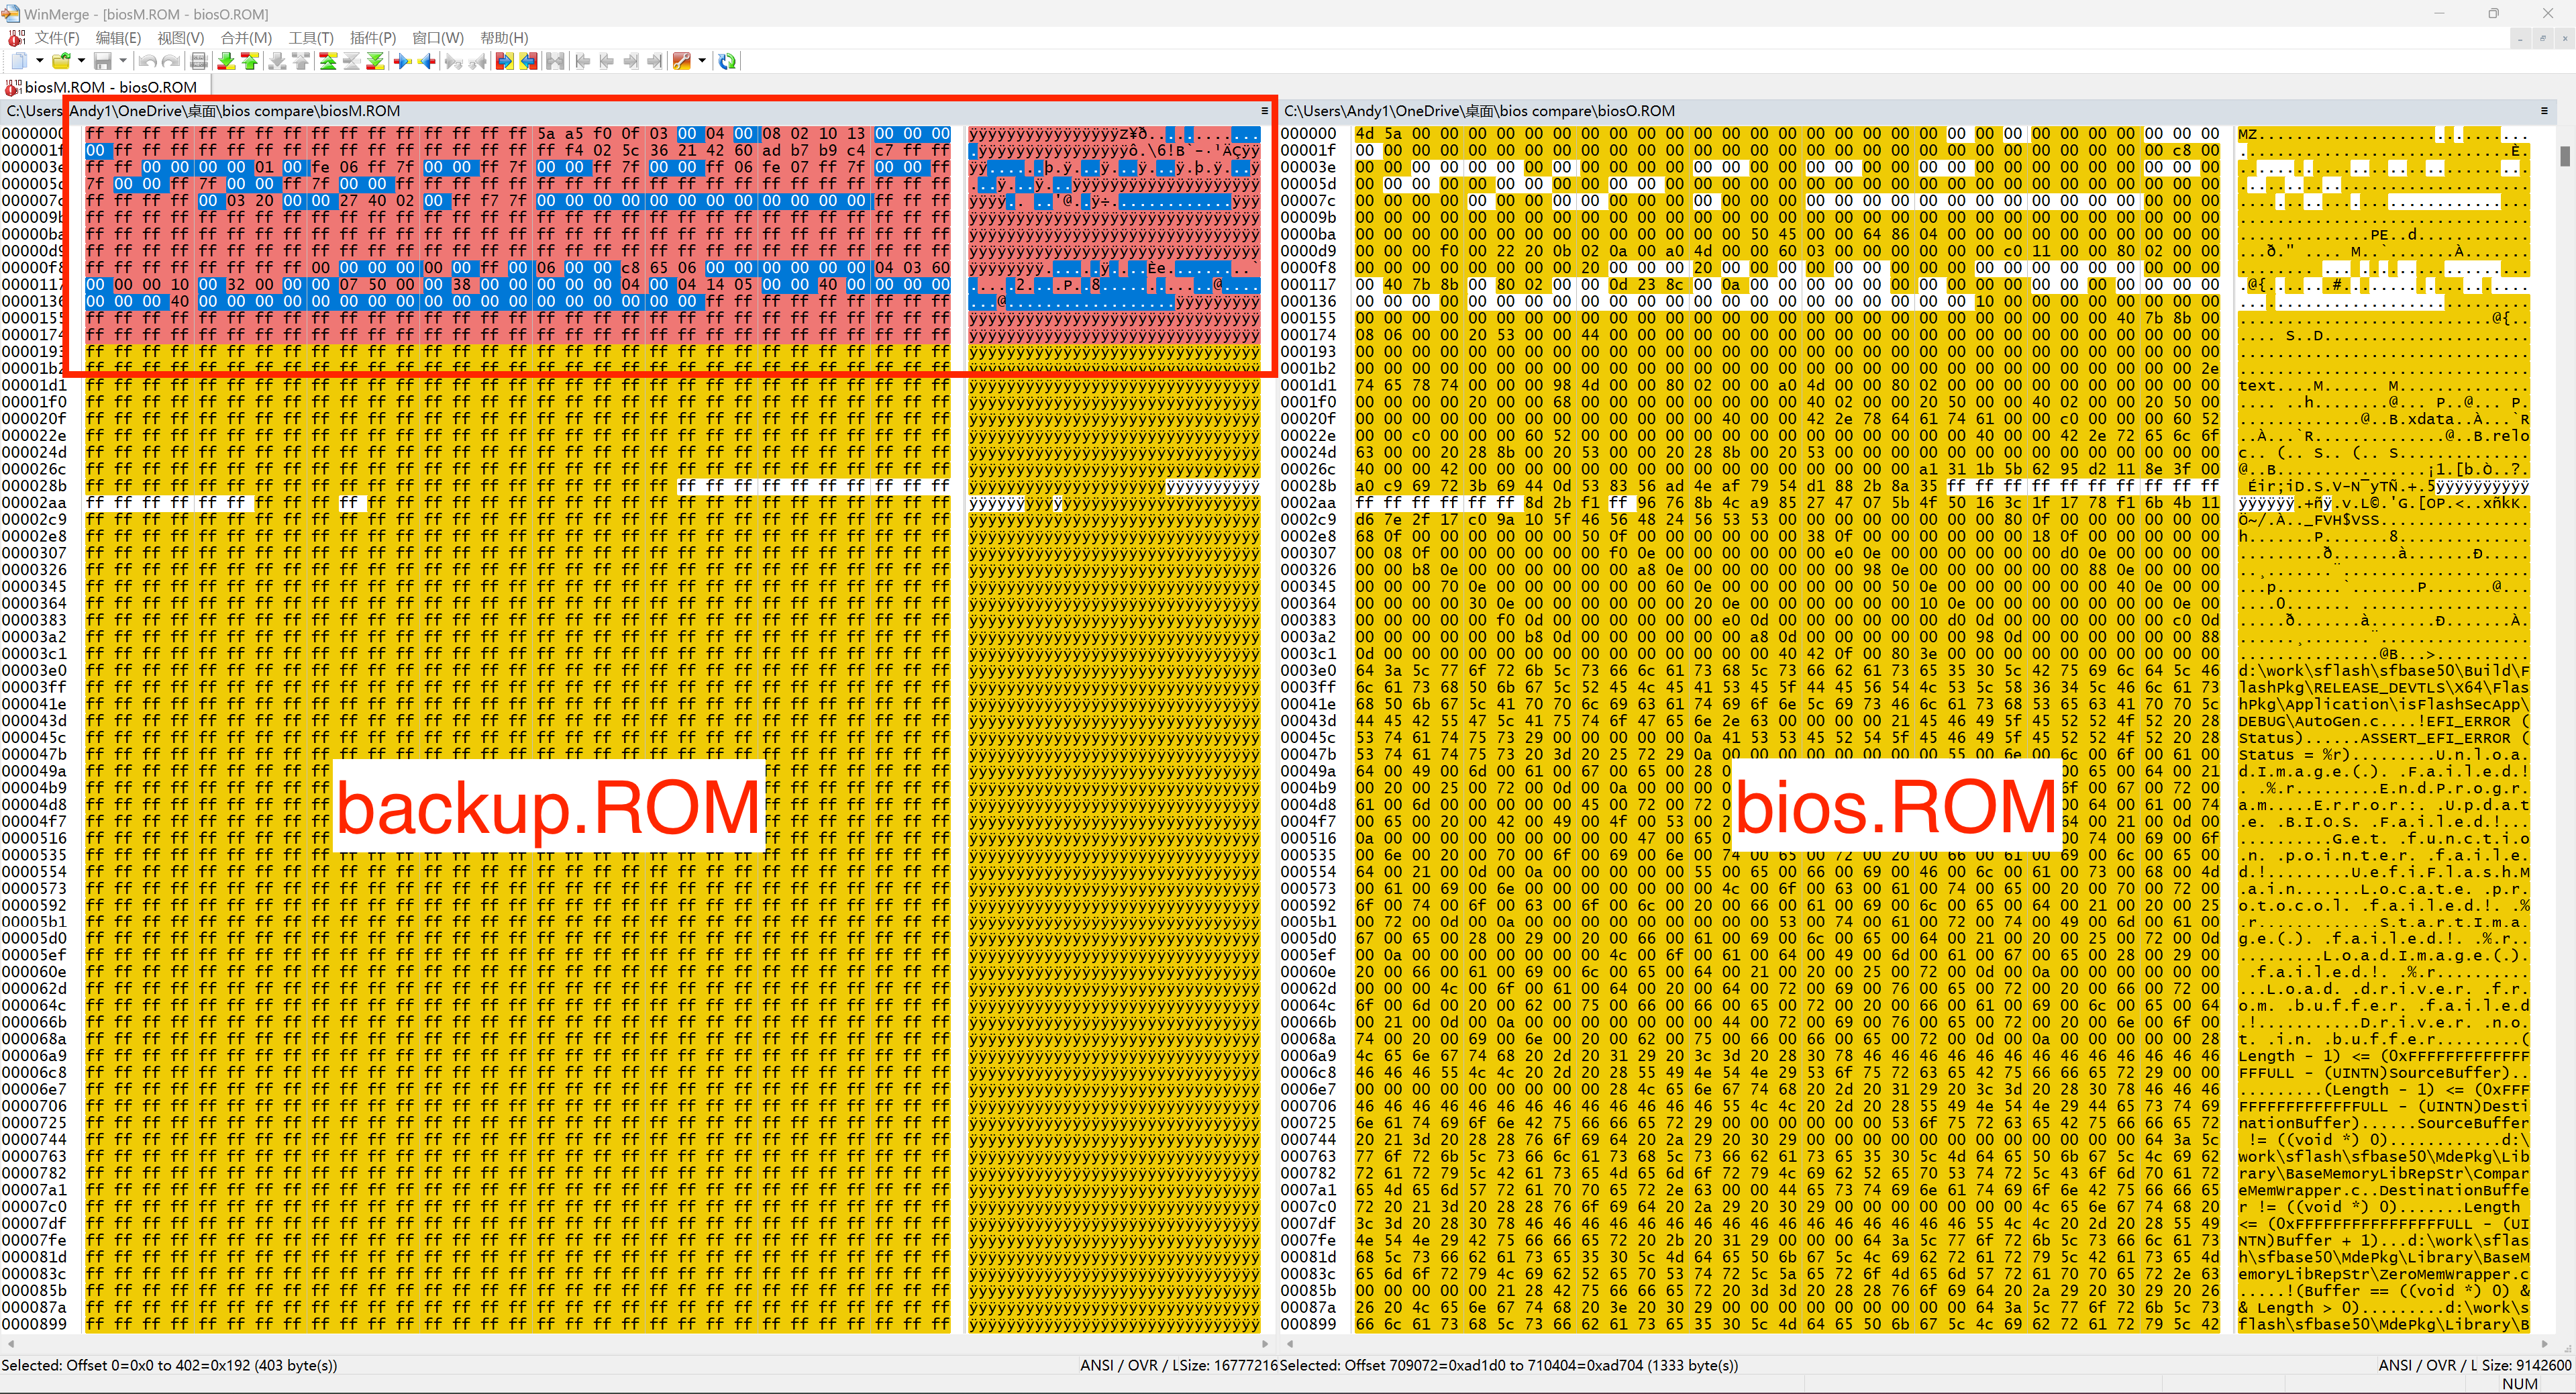
Open bios.ROM (extracted from the Synology firmware you downloaded) and bios.ROM (backed up from your Synology device, we will call it backup.ROM in the following post) using WinMerge.

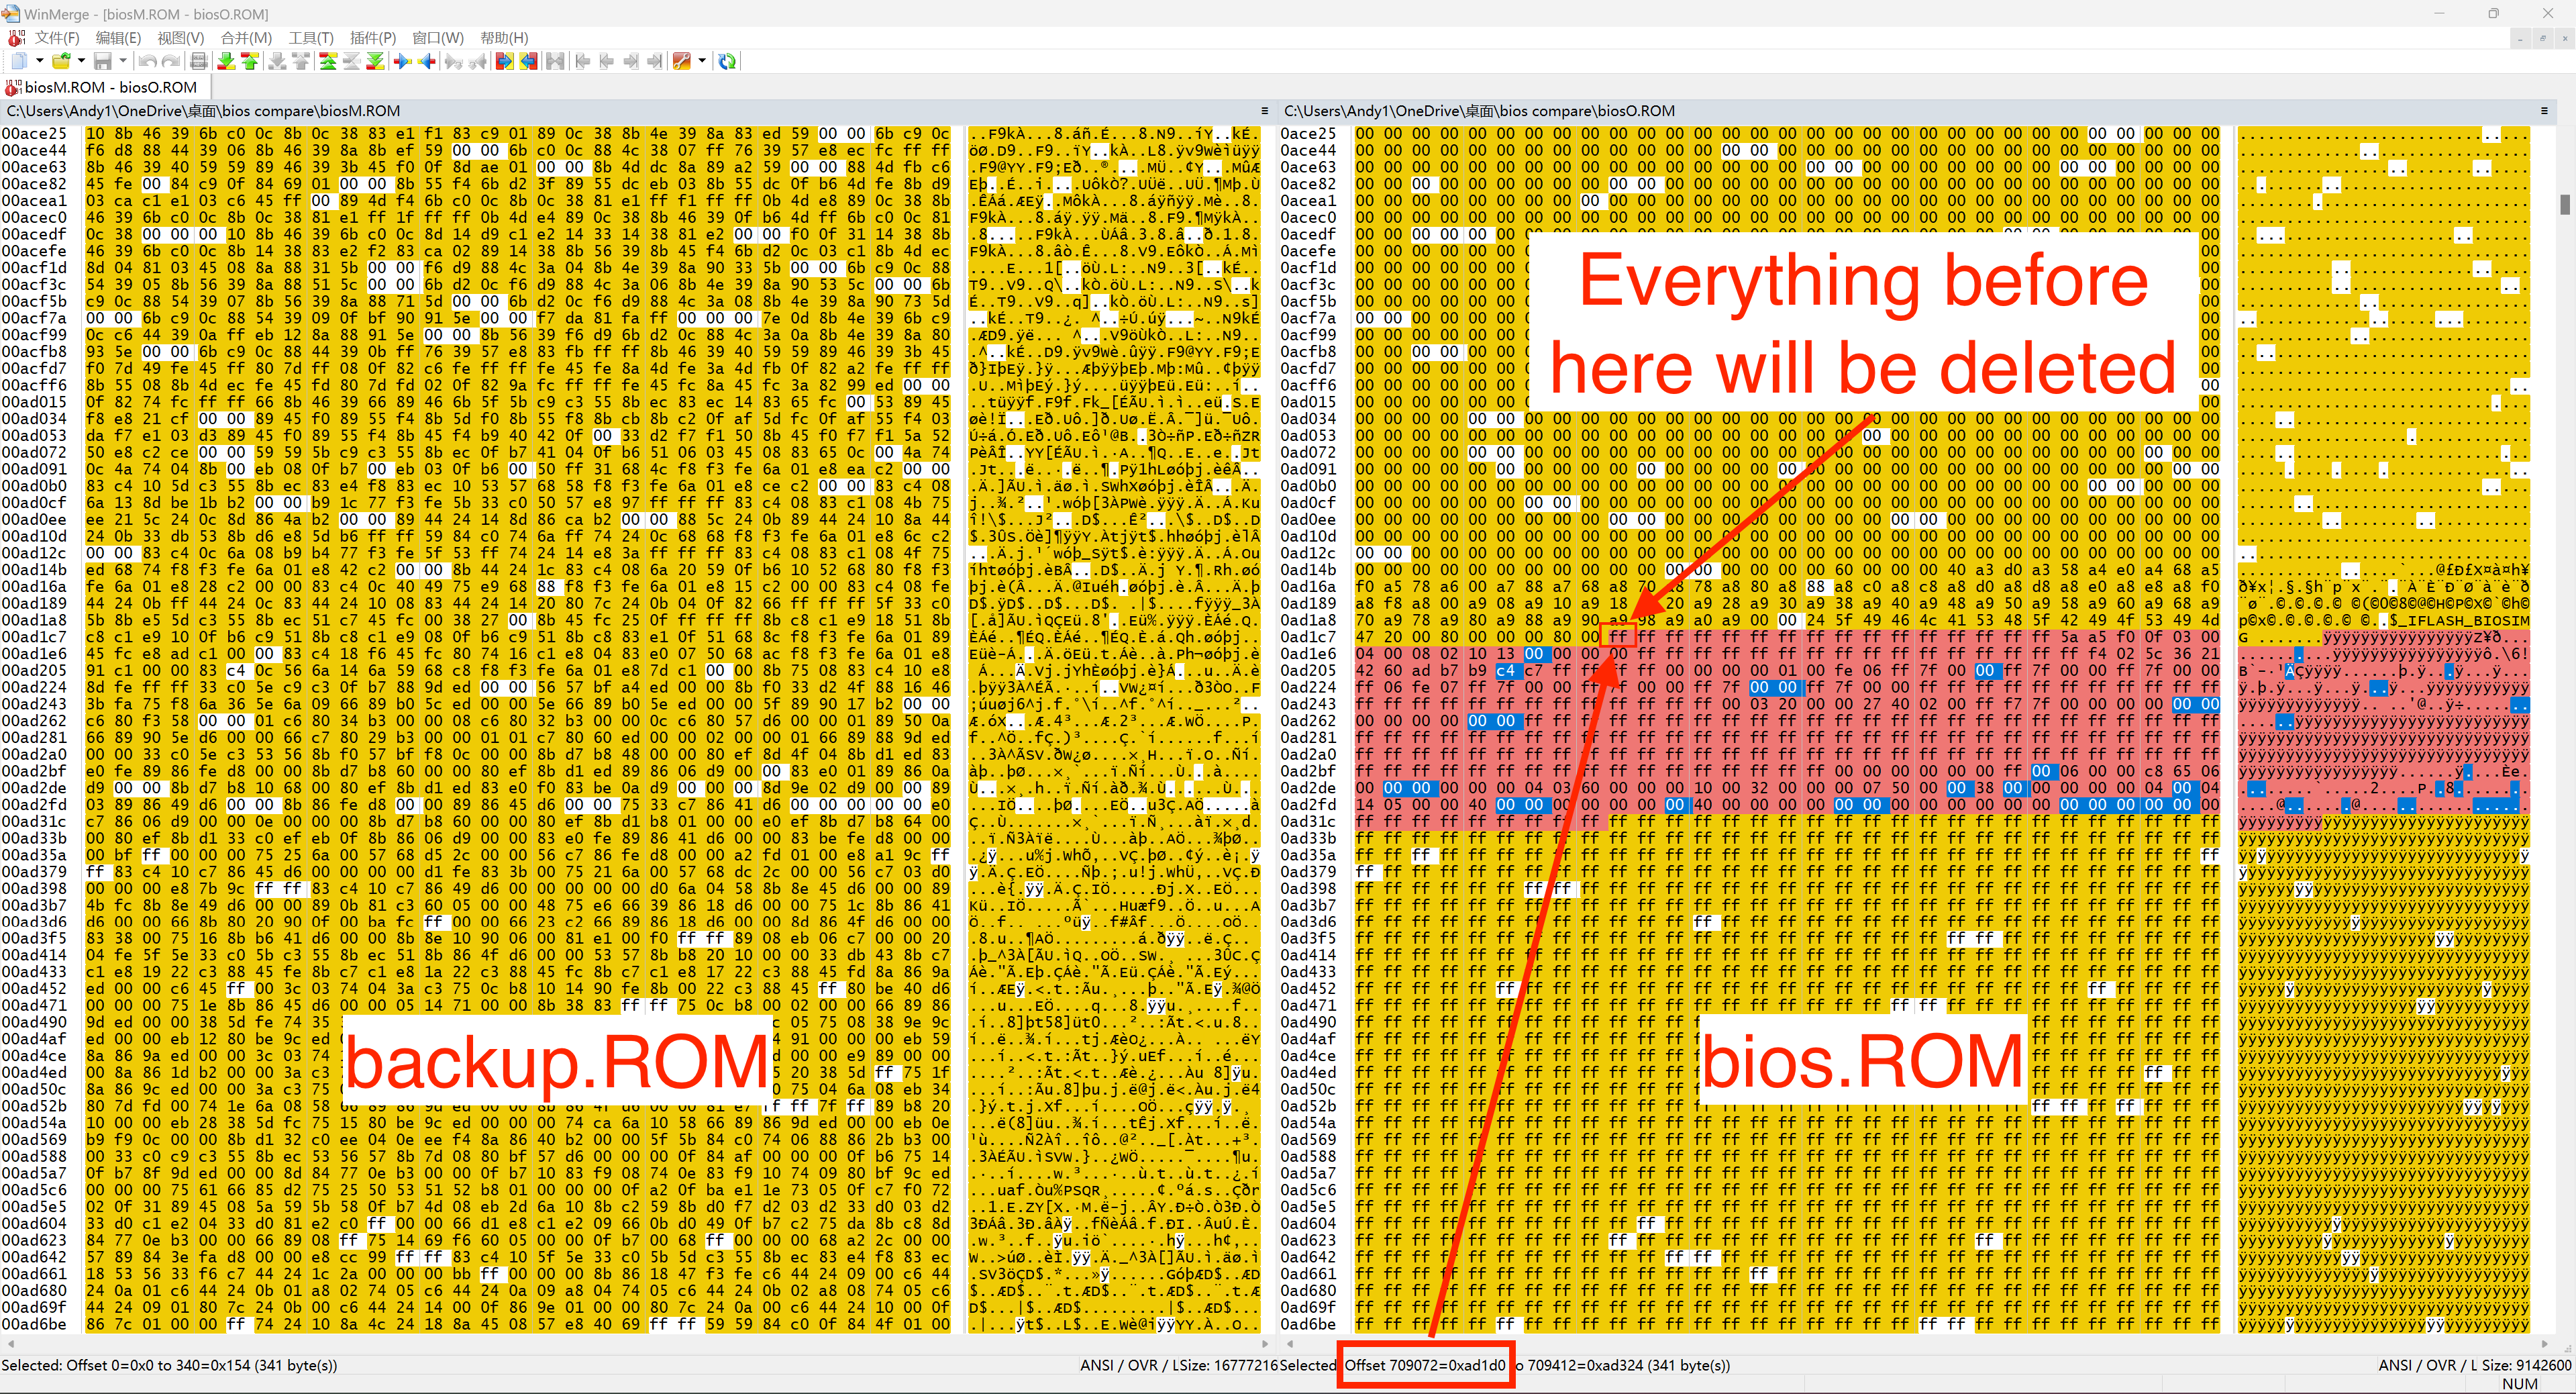
Copy the start of the backup.ROM and search it in the bios.ROM, we can find it matches at the offset 0xad1d0 (before this offset it says “$_IFLASH_BIOSIMG”). Remember this offset, will be the first cutting point, everything before this offset will be deleted.
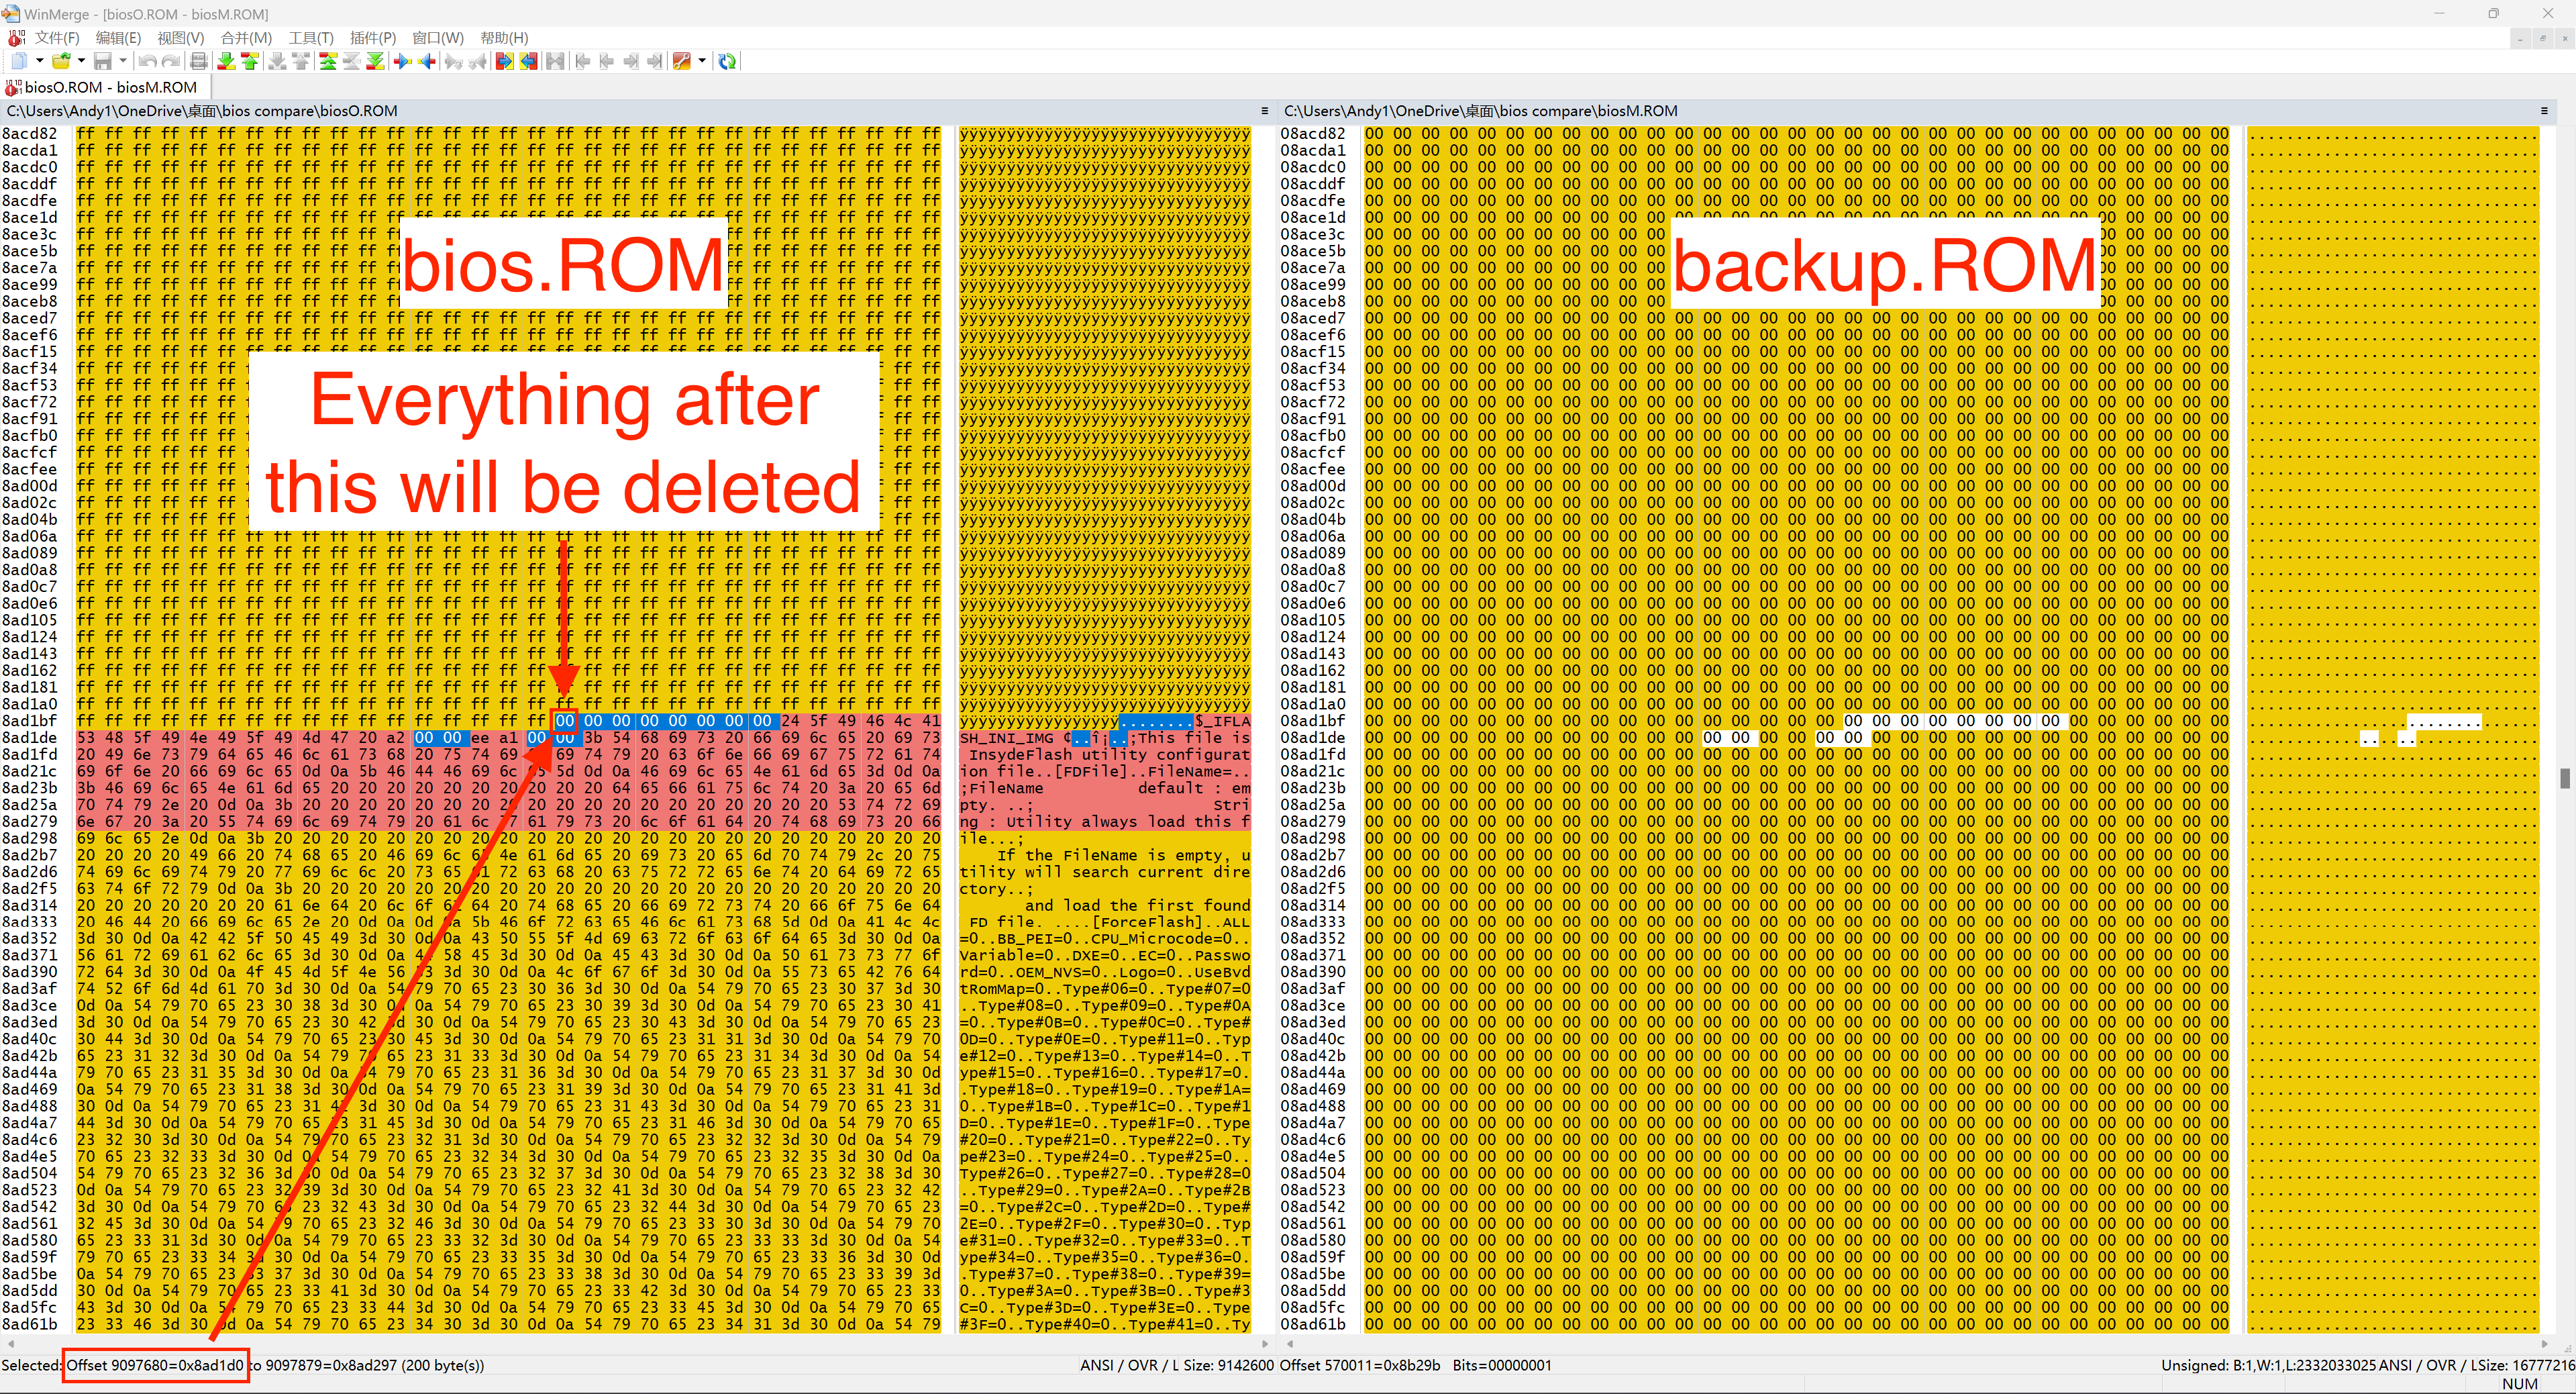
Keep looking until reach offset 0x8ad1d0 (after this offset it says “$_IFLASH_INI_IMG”). Remember this offset, it will be the second cutting point, and everything after this offset will be deleted.
Now we have all the cutting points which were 000AD1D0(0xad1d0) and 008AD1D0(0x8ad1d0), the next step is to create our new bios file.
When creating new bios.ROM, it is strongly recommended to start from the second cutting point (008AD1D0) first because cutting the rest of the file won’t affect the first half offset number of the file. If you start with the first cutting point, when you are trying to find the second cutting point you will realise the offset number changes because of the cutting.
Steps
Extract bios.ROM from the DSM firmware you downloaded. Here I use DSM version 6.2.4-25556.
About how to extract bios.ROM, you can have a look at my previous post Extract Synology Pat Firmware File.

Open the
bios.ROMusing HxD, this file will be our new bios.ROM file and our modification is based on this file.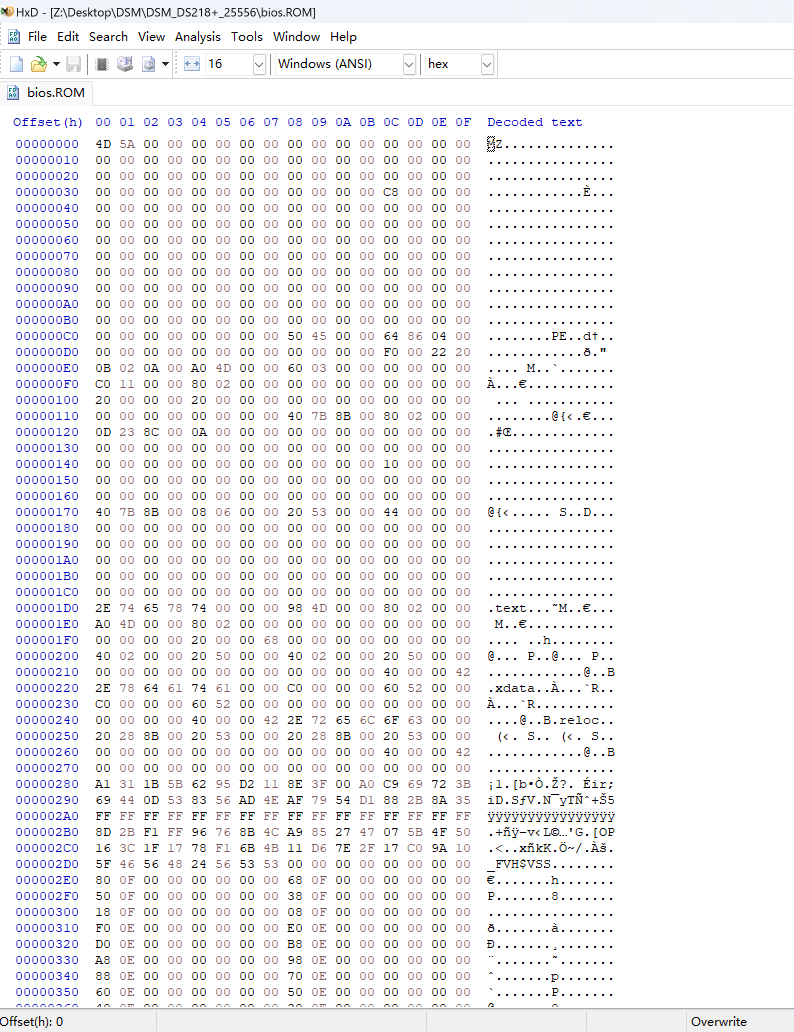
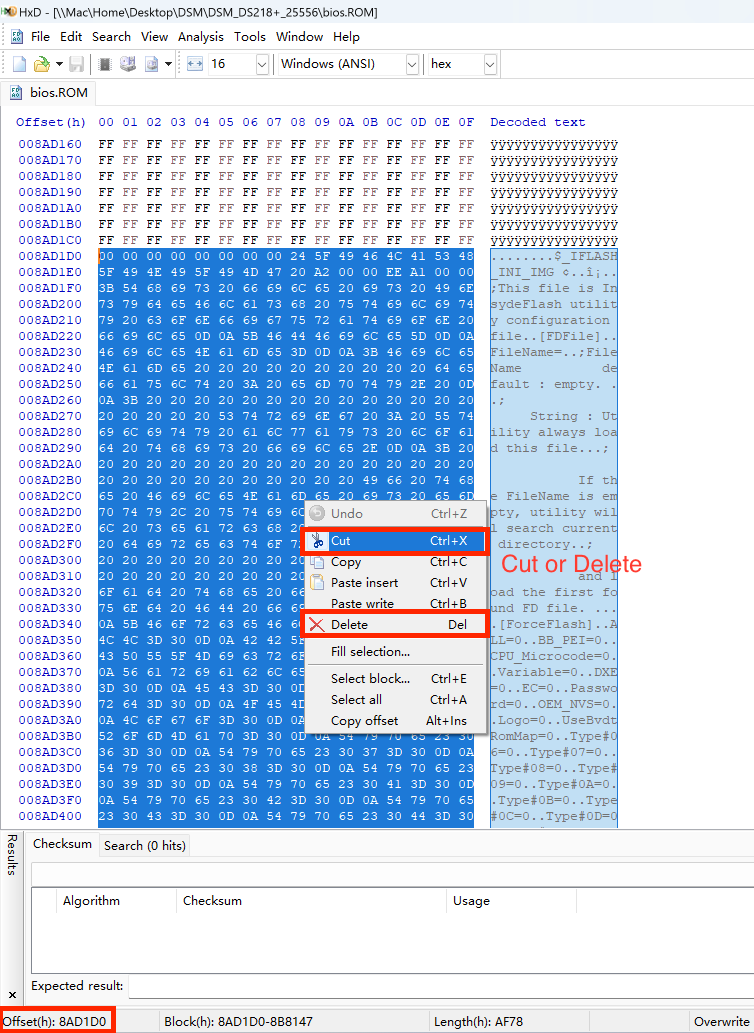
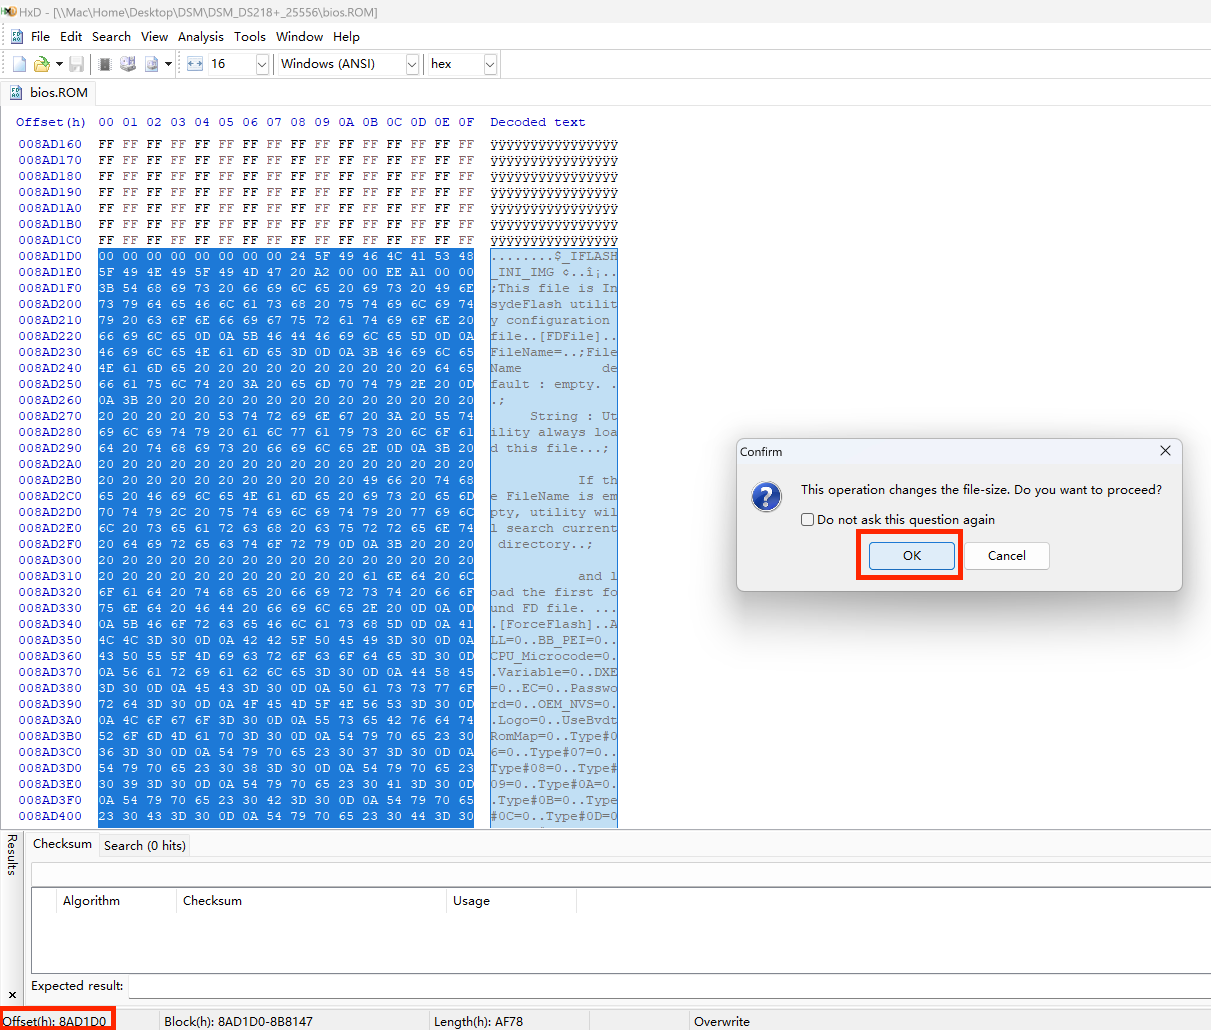
Find and cut everything from
008AD1D0to theend of the file(which is008B8147).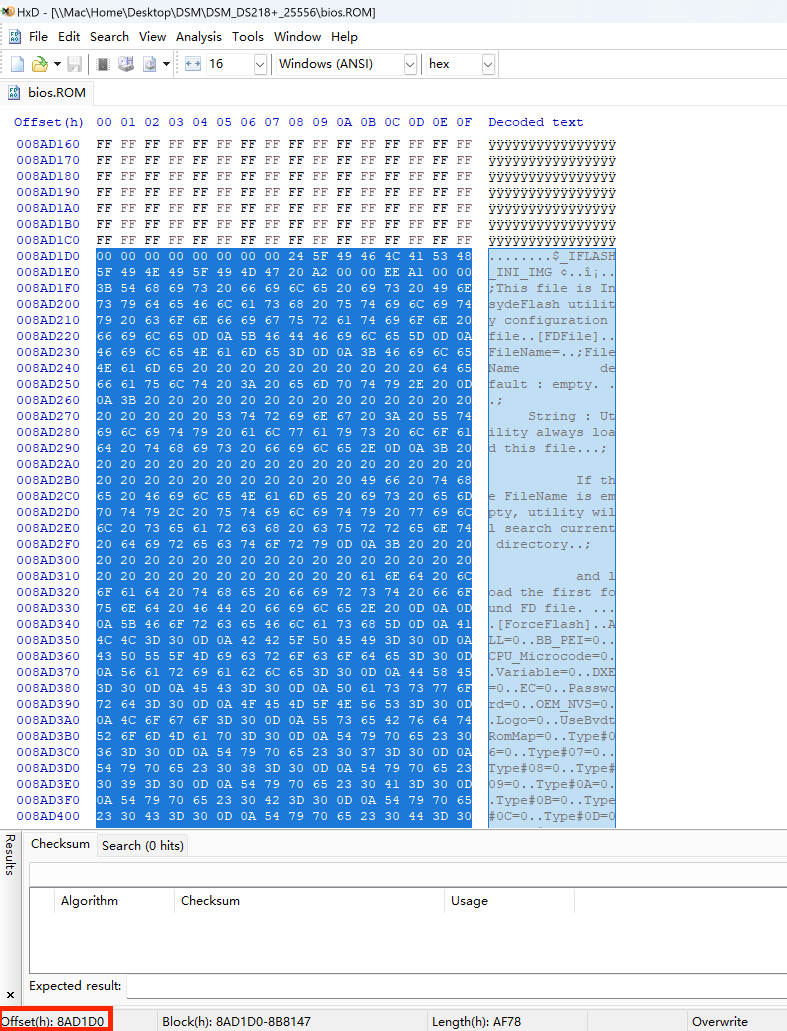
After deleting this part, the end of the file will be
008AD1CF.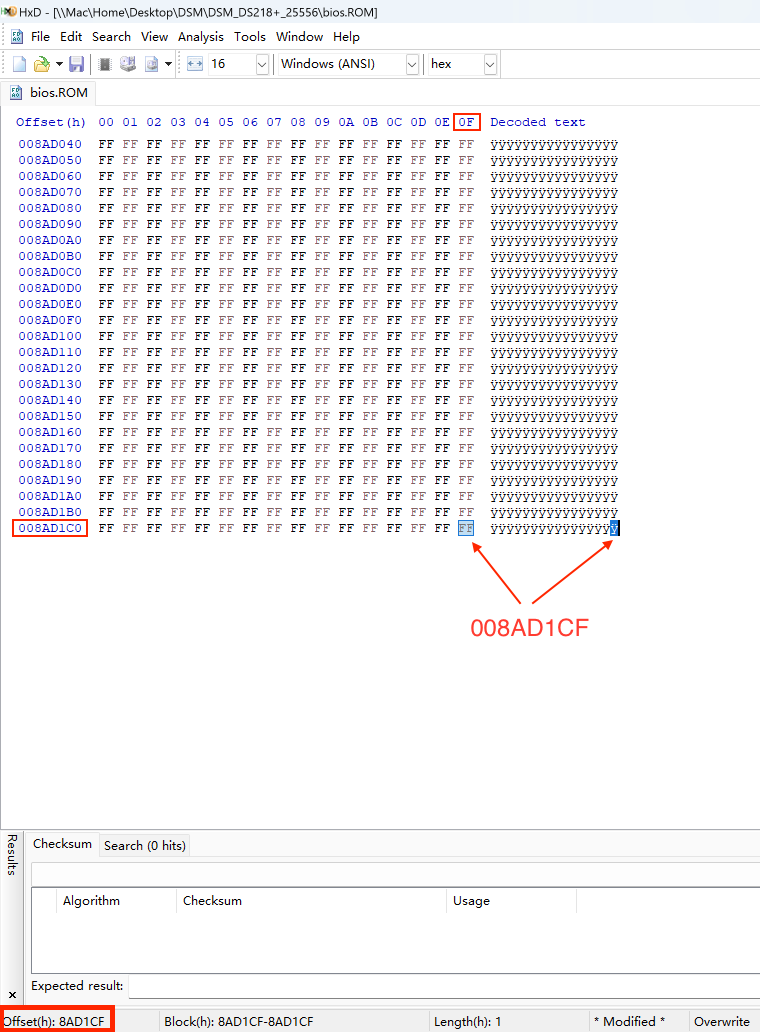
Find and cut everything from offset
00000000to000AD1CF.
After cut, the start of the file will be like:
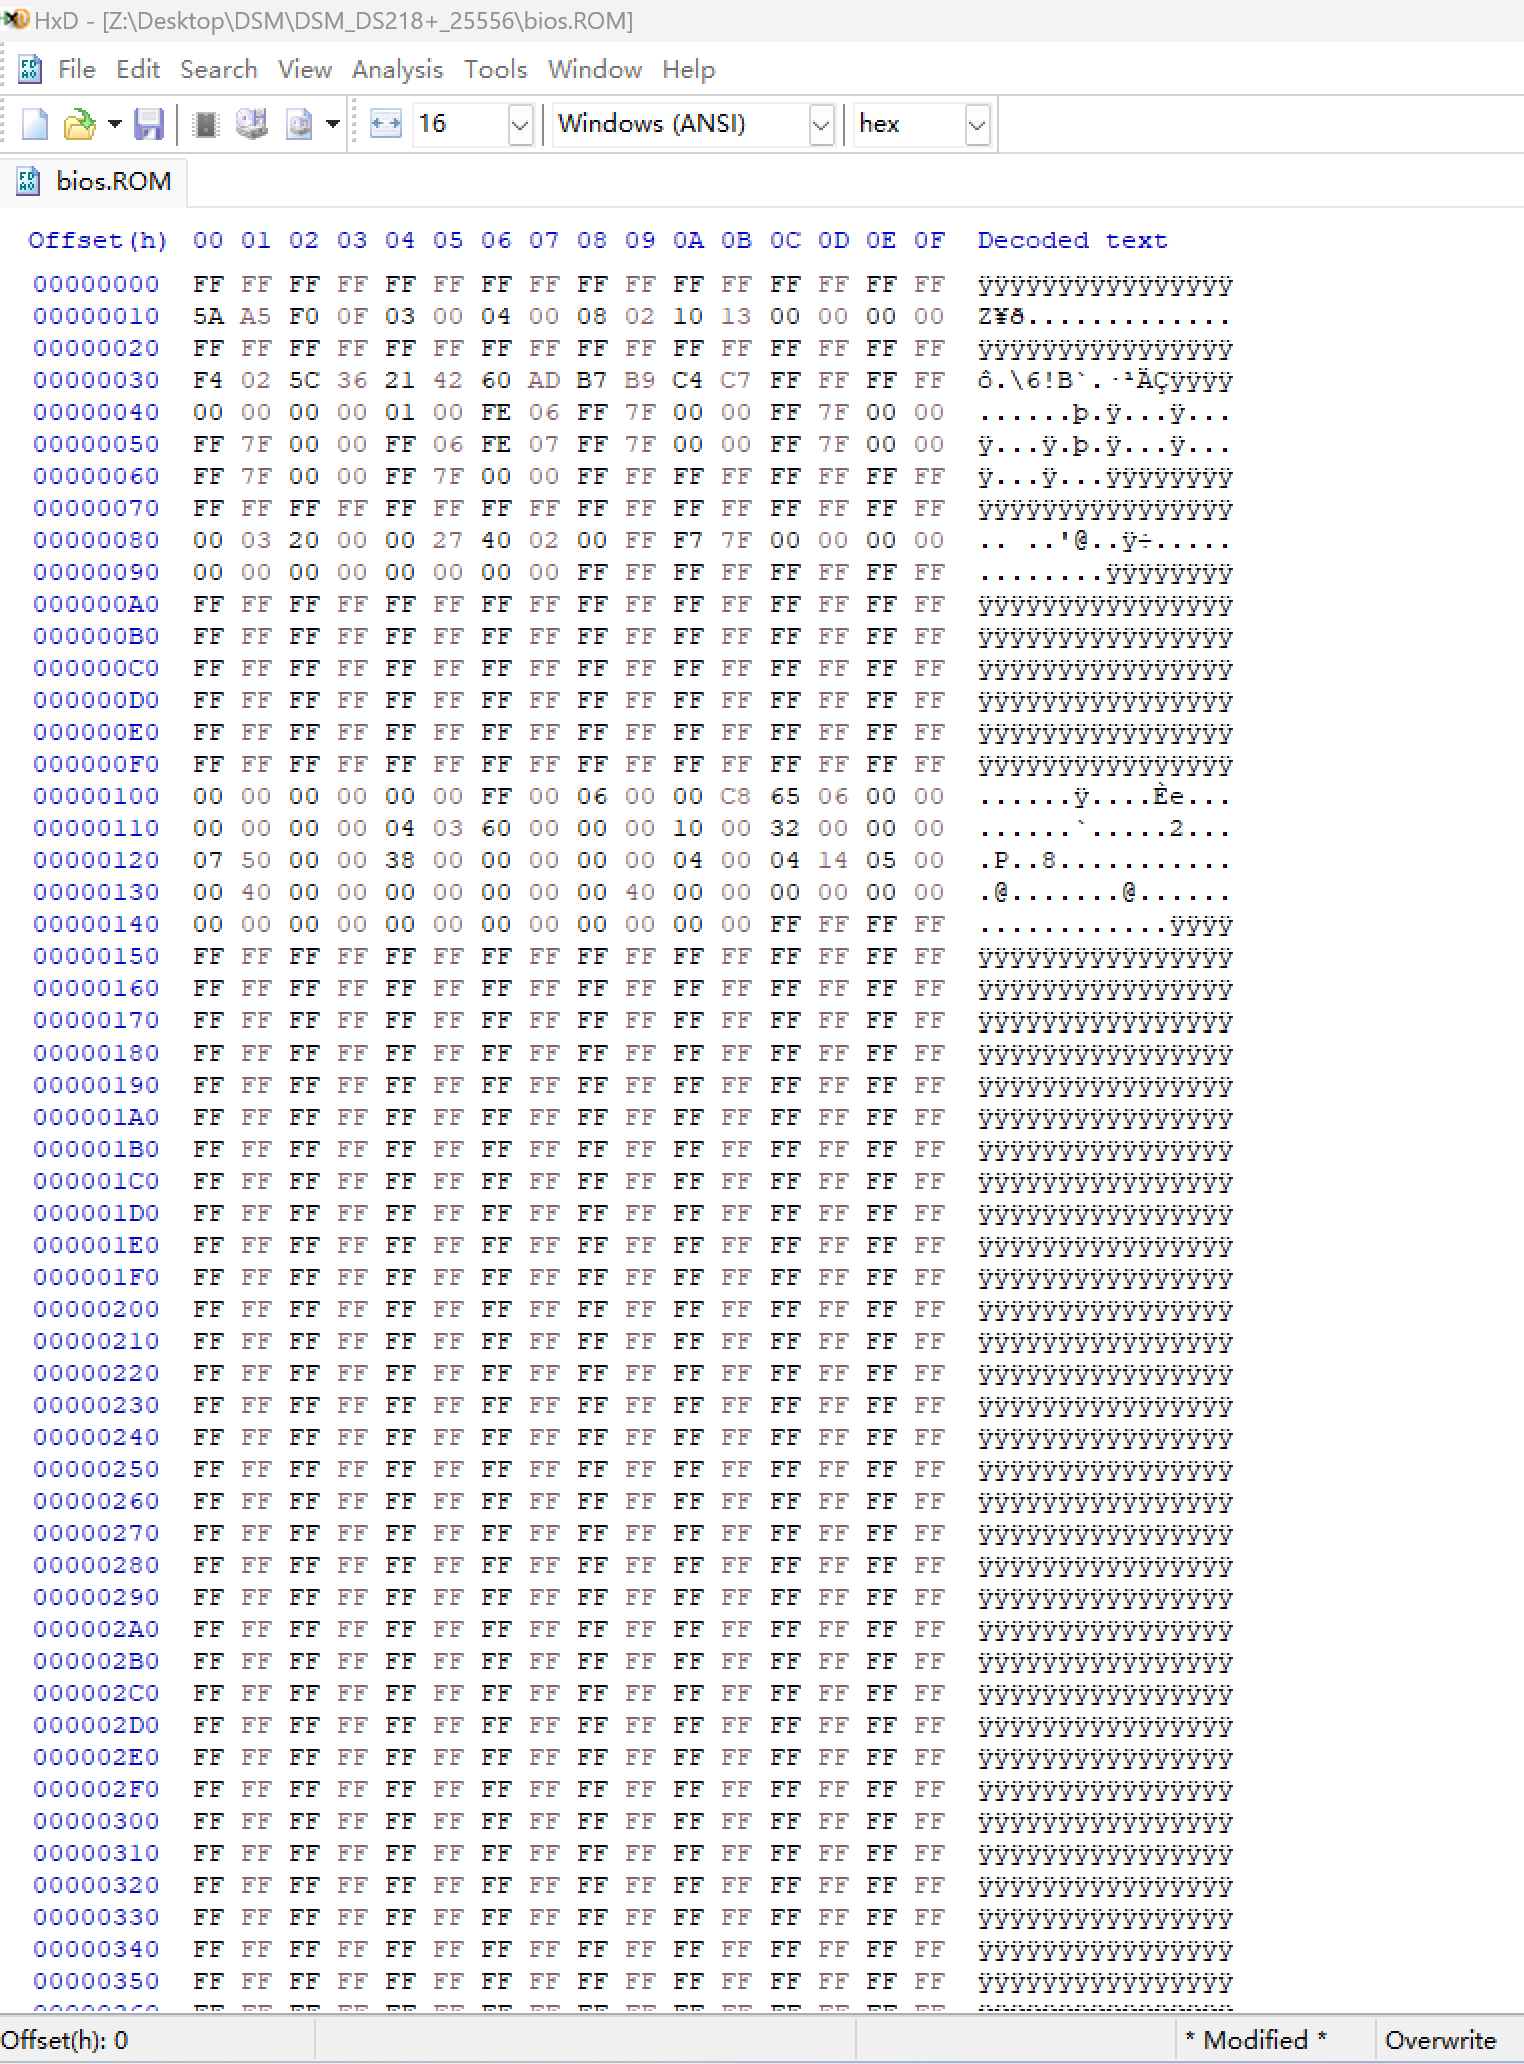
Save this modified
bios.ROM. The size of the file should be 8,388,608 bytes.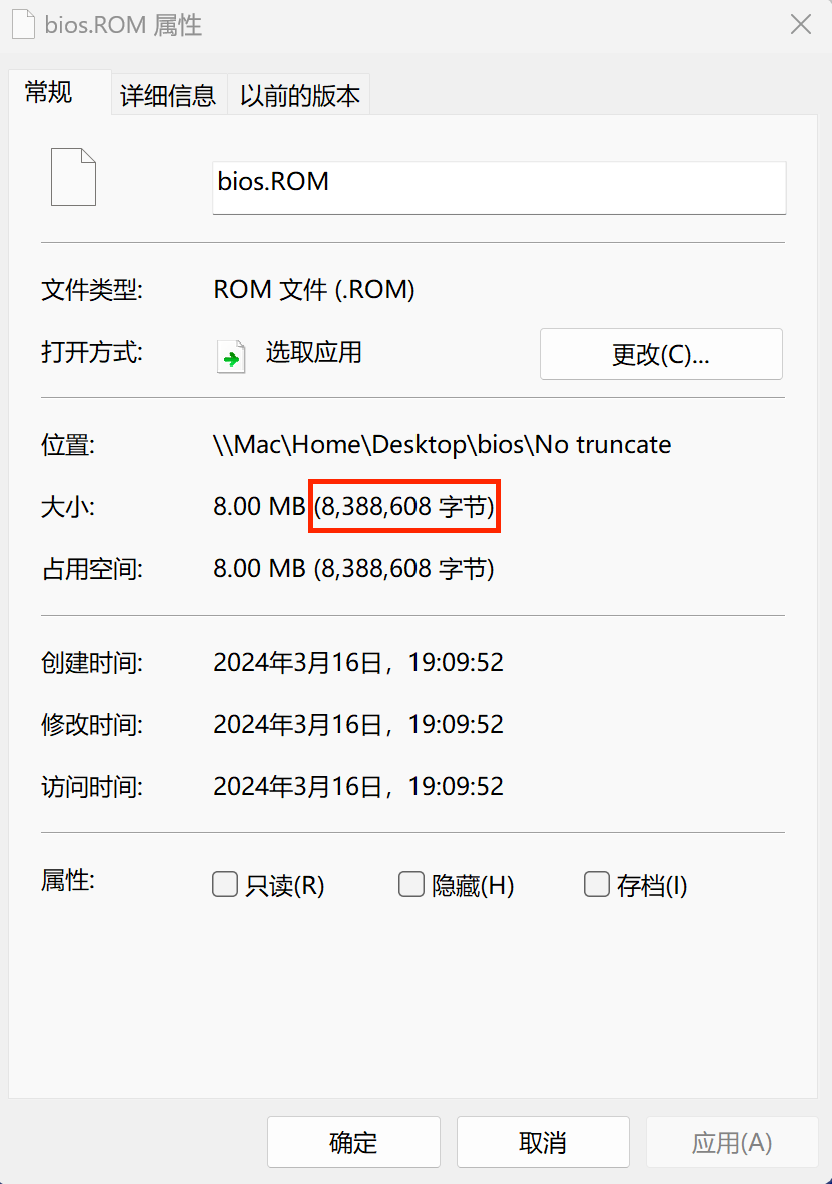
Change to your Unix-like system. Next, we are going to truncate the rest of the new
bios.ROM(which left 8,388,608 bytes to truncate) with 0.Open the terminal and navigate to the folder where you store your new
bios.ROM. Enter the command below and hit enter to truncate the file.1
truncate -s 16777216 bios.ROM
- truncate: This is the command itself, which is used to truncate or extend the size of a file.
- -s 16777216: This option specifies the size to which you want to resize the file. In this case, it’s setting the size to 16,777,216 bytes, which is equivalent to 16 megabytes.
- bios.ROM: This is the name of the file you want to resize. In this case, it’s bios.ROM.
The command above would resize the file bios.ROM to 16,777,216 bytes (16 megabytes), either truncating it (if it was larger) or extending it (if it was smaller). If the file is smaller than the specified size, it will be padded with zeros to reach the desired size.
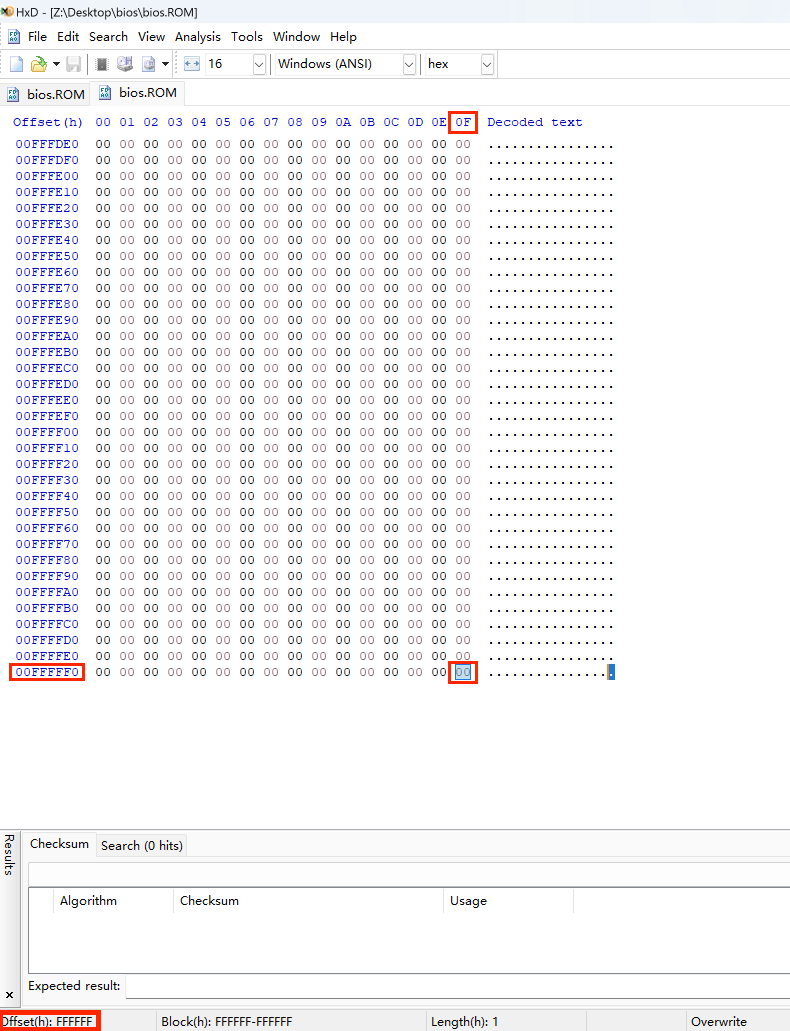
After truncating the size of the
bios.ROMshould be 16,777,216 bytes and the end of the file will be00FFFFFF.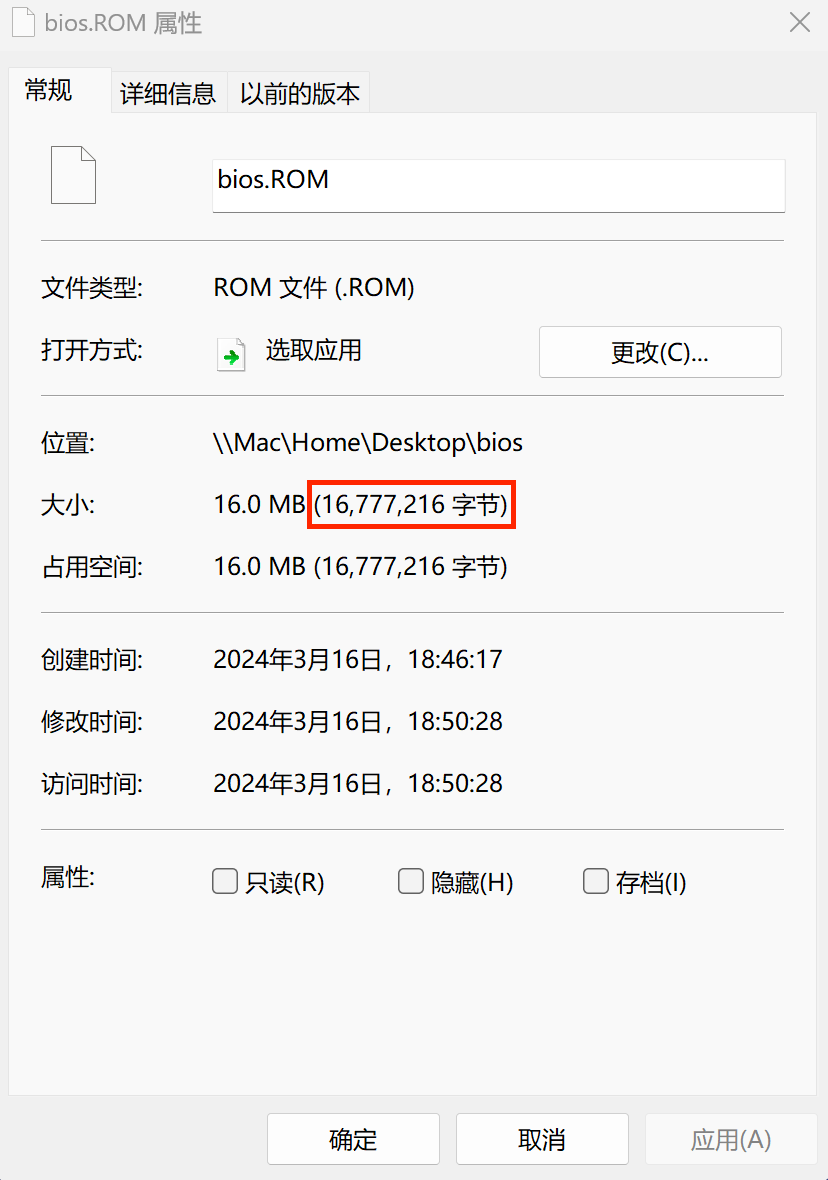
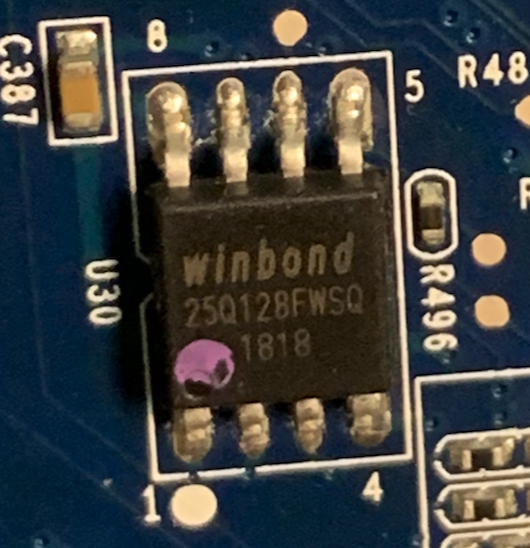
Now you have created a new bios file and it is ready to flashback it to your DS218+ bios chip (Winbond W25Q128FWSQ).
Last words
About cable connection or other problems, feel free to check this forum Unbrick Synology DS918+. PH3 has provided very detailed instructions there.
Special Thanks
To PH3 in Linux Device Hacking who taught me a lot with patient and detailed instructions, without help from PH3 this work could be a lot more difficult.
<3
BIOS file download
If you do not want to do all these by yourself, feel free to download the bios.ROM I created. It is tested by me and truly bring my DS218+ back to life instead of a paperweight.
Below is the download link:

Reference
About this Post
This post is written by Andy, licensed under CC BY-NC 4.0.
Next
Enable MacOS Dark Mode in Menu Bar and Dock only
Previous